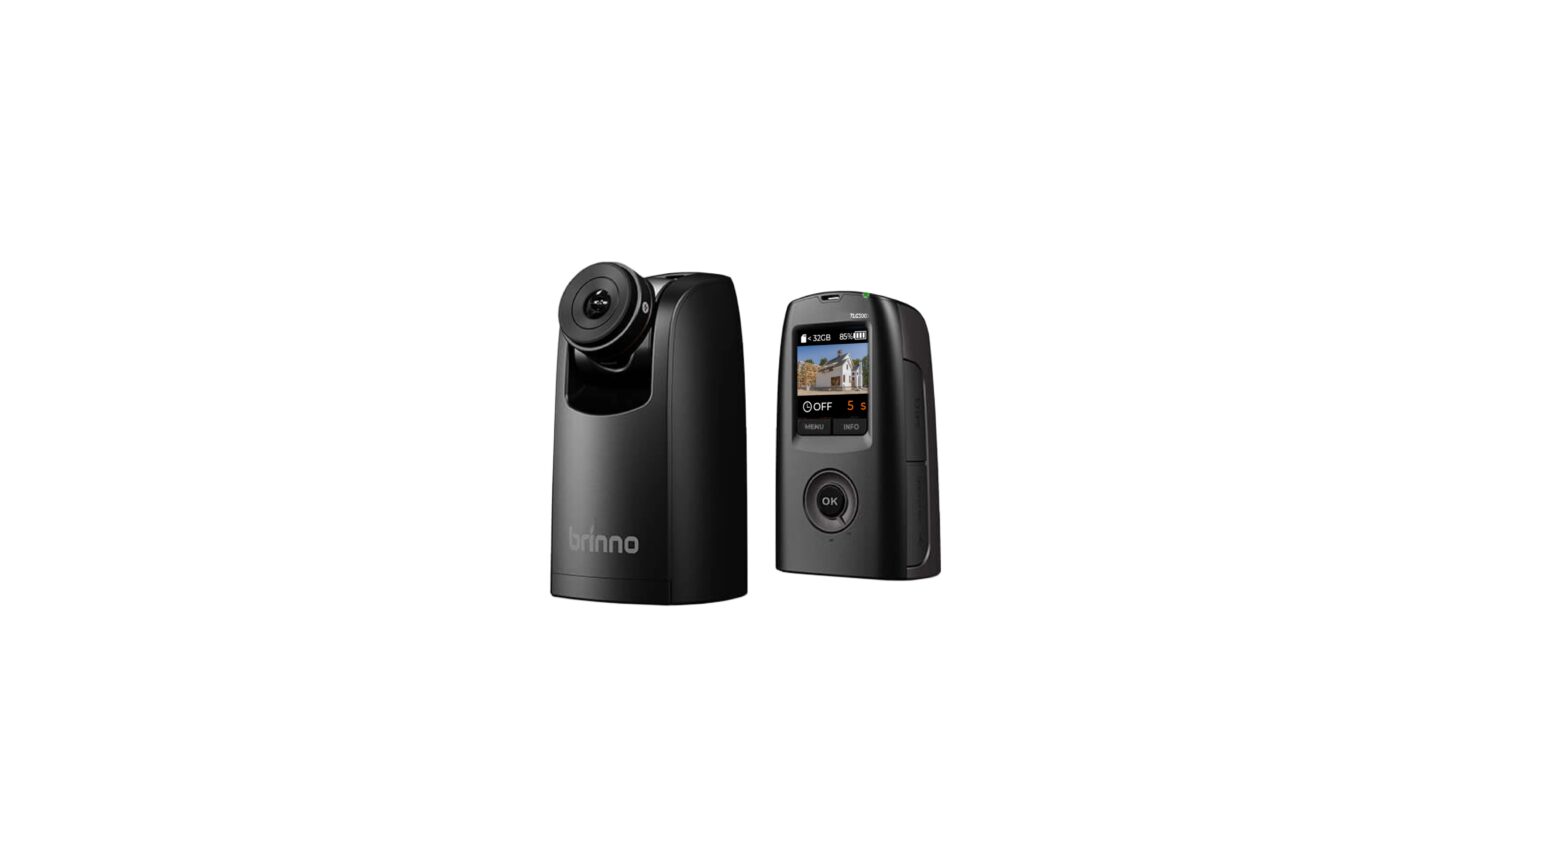
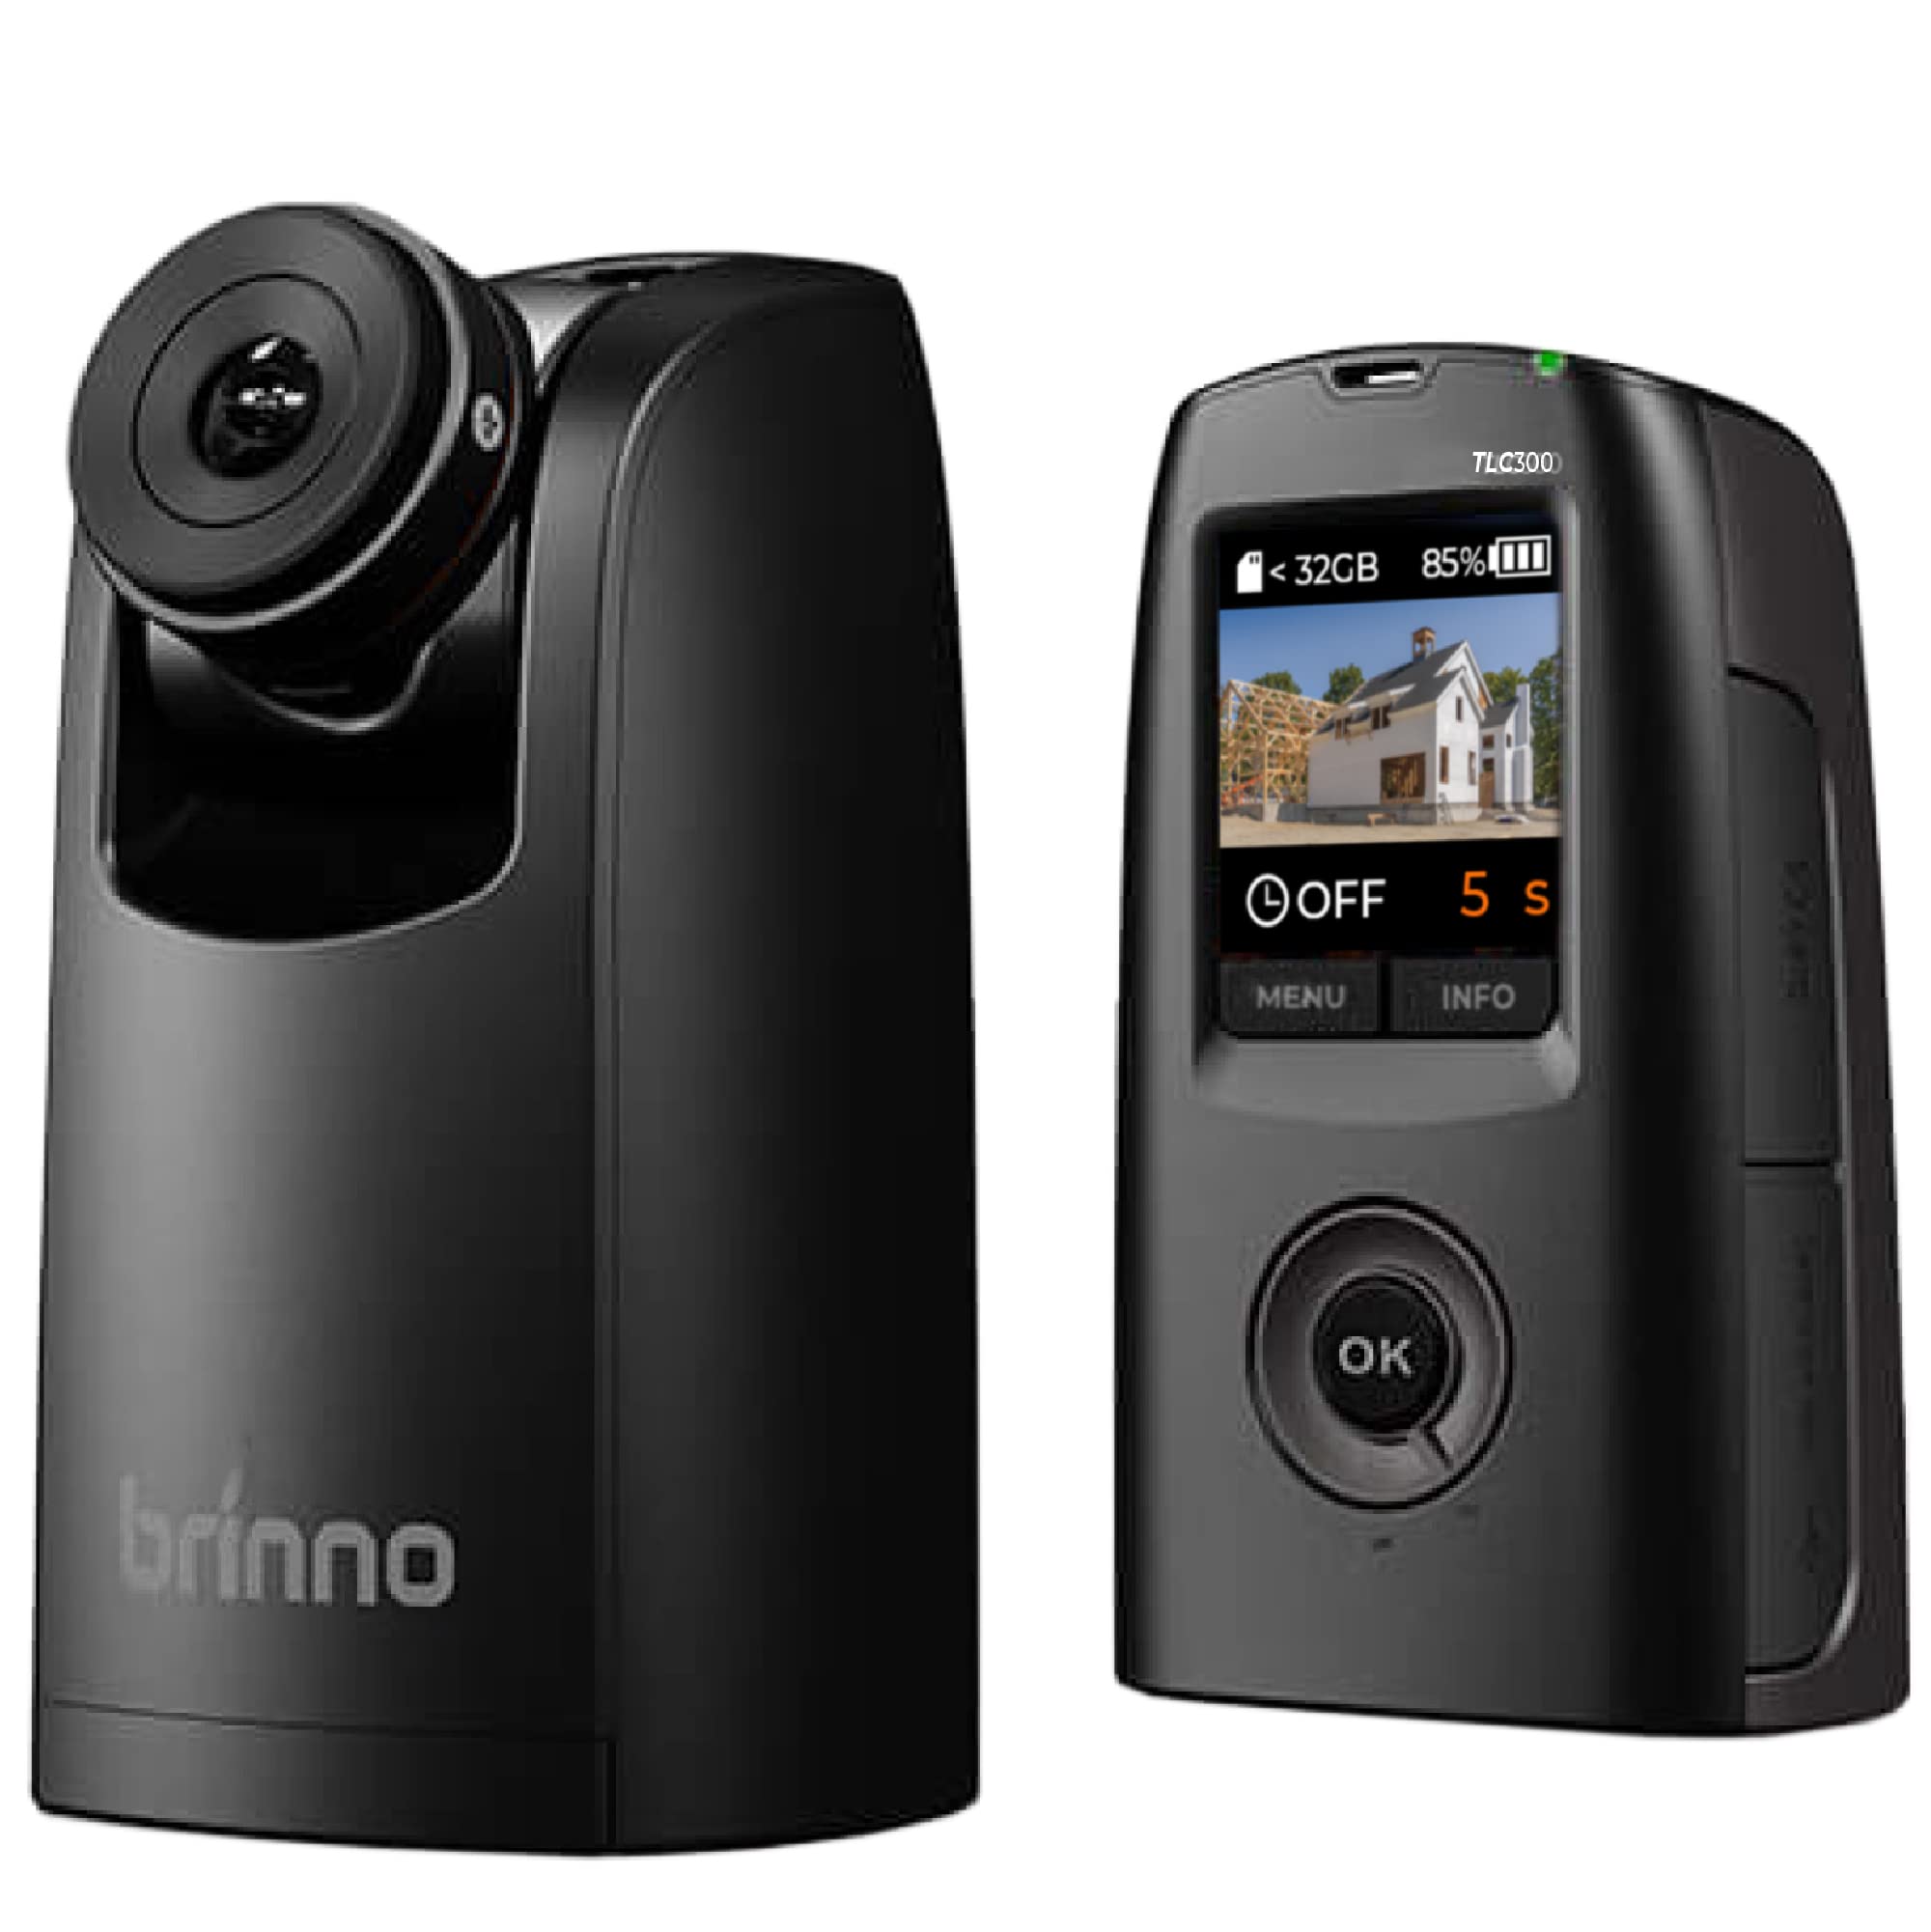
Brinno TLC300 Next Generation Time Lapse Camera User Manual
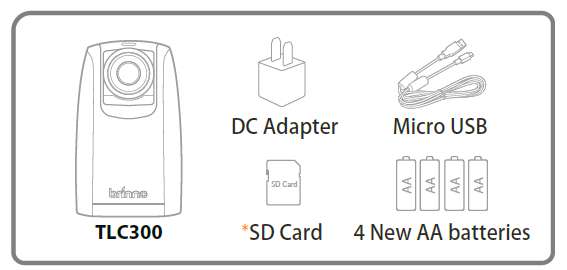
Prepare items
*We recommend that the SD card that came with the camera be used for all firmware updates. If you are using a new SD card that is over 32GB it will need to be formatted by your camera before it can be used. To format a new SD card, insert the card into your camera and follow the formatting prompts on the LCD screen before you start the firmware upgrade process.
Download Firmware
- Download the firmware upgrade package from the location below:
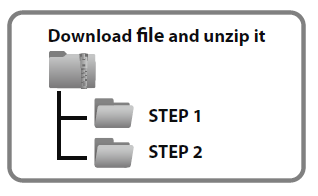
www.brinno.com/pages/support-tlc300 - Unzip the compressed file and find two folders, “STEP1” and “STEP2” folders.
- Upgrade your firmware in two steps.
STEP 1
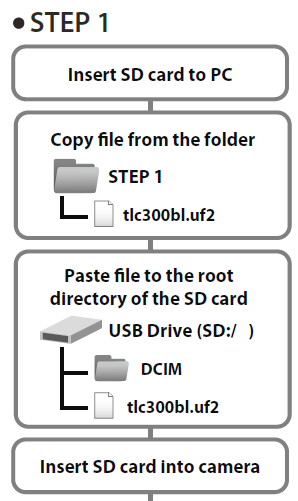

- Duplicate the “tlc300bl.uf2” file in the “STEP 1” folder to the root directory of the SD card. (SD:/ )
- Install 4 new AA batteries to the camera and connect the camera to external power using a micro USB and DC adapter.
- Insert the SD card into the camera.
- Turn on the camera and it will automatically upgrade the firmware.
- The LED indicator and the LCD display will flash constantly for about 1 minute while the firmware is upgrading.
- When the upgrade is completed, the camera will restart automatically and return to the preview screen.
- Turn off the camera and remove the SD card for the next upgrade procedure.
STEP 2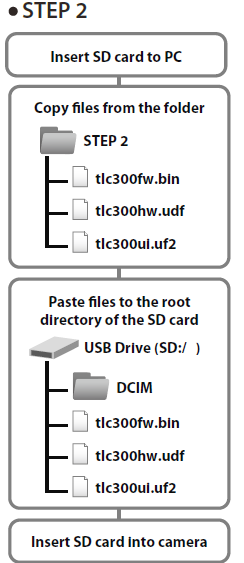
- Duplicate the “tlc300fw.bin” , “tlc300hw.udf” , “tlc300ui.uf2” files in “STEP 2” folder to the root directory of the SD card.
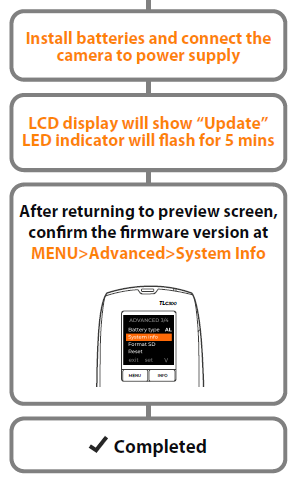
- Install 4 new AA batteries to the camera and connect the camera to external power using a micro USB and DC adapter.
- Insert the SD card into the camera.
- Turn on the camera and it will automatically upgrade the firmware.
- Step 2 upgrading procedure will take longer, the LED indicator and the LCD display will flash constantly for about 5 minutes while the firmware is upgrading.
- When the upgrade is completed, the camera will restart automatically and return to the preview screen.
- Confirm the firmware version in the camera setting. MENU>Advanced>System Info
NOTE:
Do not TURN OFF power or REMOVE SD card when camera is updating firmware as that will damage the camera!
ABOUT
Time-Lapse Cameras: Time-lapse cameras are designed to capture a series of images at specified intervals over an extended period of time. These images are then compiled into a video, creating a sped-up representation of the passage of time. Time-lapse photography is often used to capture natural processes (such as sunrises or plant growth), construction projects, weather changes, and more.
About Brinno: Brinno is a company known for its time-lapse camera products and other imaging solutions. They have developed a range of cameras specifically designed for capturing time-lapse footage, making the process easier and more accessible for photographers and enthusiasts. Brinno’s cameras typically have features such as long battery life, easy setup, and user-friendly interfaces.
FEATURE
- High-Quality Imaging: Time-lapse cameras typically offer good image quality, often with high-resolution sensors to capture detailed footage.
- Customizable Intervals: Users can often set the time intervals at which the camera takes photos, allowing for control over the speed of the resulting time-lapse video.
- Long Battery Life: Many time-lapse cameras are designed to have extended battery life, ensuring they can capture images over an extended period without frequent recharging.
- Compact and Durable: These cameras are often designed to be compact and weather-resistant, allowing for outdoor and rugged use.
- Easy Setup: User-friendly interfaces and simple setup procedures make it easier for users to start capturing time-lapse footage quickly.
- Onboard Storage or Memory Card: Time-lapse cameras typically have built-in storage or support for memory cards where the captured images are stored.
- Various Shooting Modes: Some cameras may offer different shooting modes such as manual, automatic, and HDR (High Dynamic Range) to cater to different shooting scenarios.
- Editing Software: Certain time-lapse cameras may come with accompanying software for editing and compiling the captured images into a time-lapse video.
- Mounting Options: These cameras often have mounting options, such as standard tripod threads, for easy attachment to various surfaces.
- LCD Display: Some models feature a built-in LCD screen for framing shots and reviewing captured images.