Black & Decker Versa Brew DCM1300 User Manual
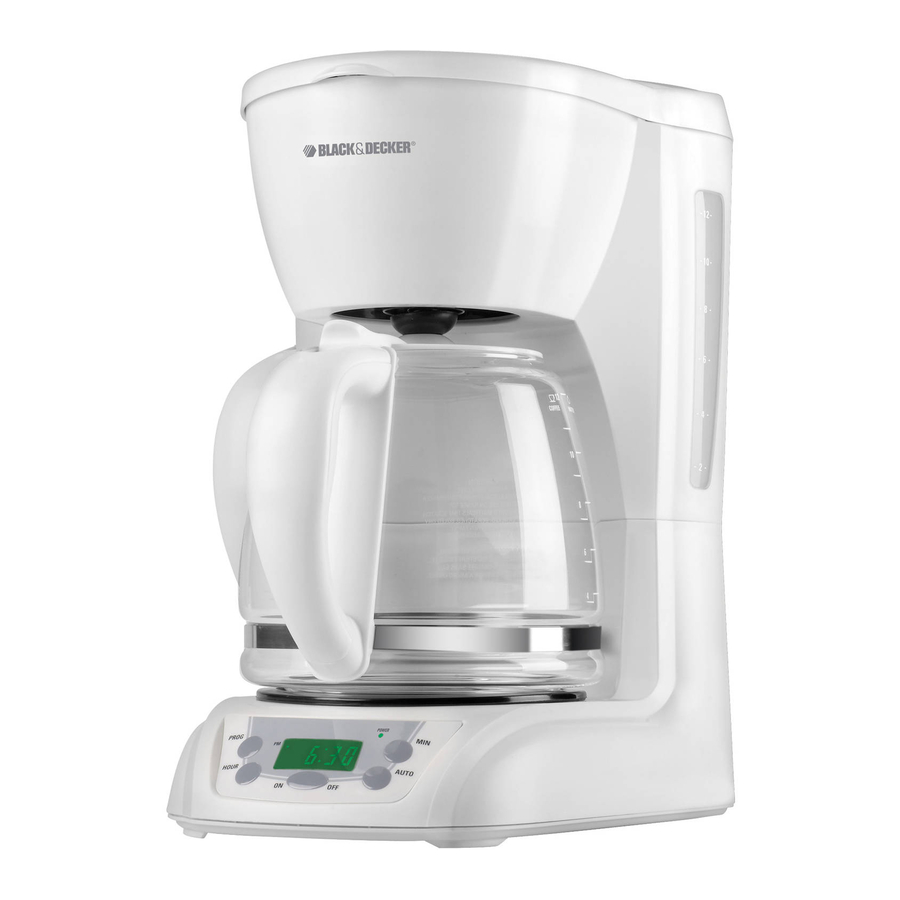
Product may vary slightly from what is illustrated.
OVERVIEW
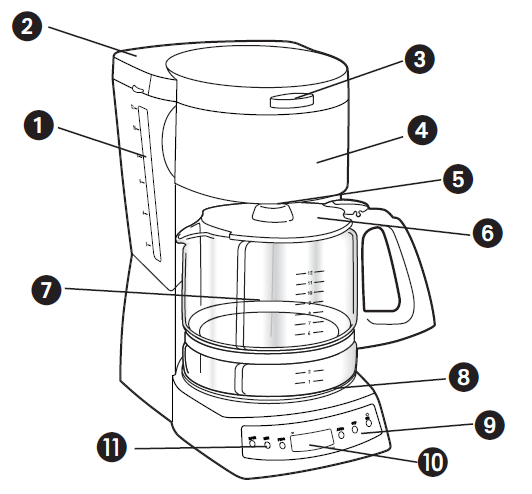
- Water Window with Cup Level Markings
- Water Reservoir with Flip Up Lid
- Brew Select*
- Filter Basket (Part #177874-00)(177874-01(B))
- Sneak-A-Cup® Interrupt Feature
- Carafe Serving Lid (Part #177090-00)(177090-01(B)
- 12-Cup/60 oz. (1800 ml) Carafe (Part #177089-00)(177089-01(B)
- “Keep Hot” Plate
- On/Off Control
- Digital Clock/Timer
- On/Off/Auto Control
ELECTRICAL CORD
The cord of this appliance was selected to reduce the possibility of tangling in or tripping over a longer cord. If more length is needed, use an Underwriters Laboratories (UL)-Listed, NOM, or appropriate agency-approved extension cord rated no less than 15-amperes and 120 volts or 6 amperes 220 volts. When using an extension cord, do not let it drape over the working area or dangle where someone could accidentally trip over it. Handle cord carefully for longer life; avoid jerking or straining it at outlet and appliance connections.
How to Use
This appliance is intended for household use only.
BEFORE FIRST USE
- Remove all stickers, packing material, and literature.
- Wash the Carafe and Lid in hot, sudsy water-rinse thoroughly. These parts are also top rack, dishwasher-safe.
- Clean the inside of your Coffeemaker by lifting the Reservoir Lid and pouring cold water into the Reservoir up to (but not exceeding) the 8-cup level on the Water Window. Pull open and swing-out the Filter Basket, place a standard paper filter into the Basket, but do not add coffee grounds. Close the Reservoir Lid.
- Place the Carafe with Lid in the Coffeemaker and push “On.” When all the water has brewed through, turn the Coffeemaker off and discard the water and the paper filter.
BREWING COFFEE
- Use the Carafe to fill the Water Reservoir with cold water. Watch for the desired level in the Water Window. Close the Reservoir lid.
- Pull the swing-out Filter Basket open, place a paper filter into the Basket, add coffee to the desired level (usually one heaping tablespoon for every two cups — adjust to your taste), and shake the basket slightly to distribute grounds evenly. Swing the Basket closed and be sure it latches.
- Sit the Carafe on the “Keep Hot” plate. For Models with Brew Select, slide the lever from mild to strong depending on your coffee flavor preference.
- Push the Control to “On” or for delayed brewing (Clock Models Only) see “Setting the Clock Timer.” You do not have to set the clock if you want to brew coffee right away. Simply press the “On” button and the light will come on.
- Replace the Carafe on the “Keep Hot” plate when not serving to keep coffee hot.
- Flip the Control to “Off” when finished brewing. In clock models, the Coffeemaker will shut off automatically after 2 hours or you may press the “Off” button to instantly turn off the Coffeemaker.
SNEAK-A-CUP® INTERRUPT FEATURE
The Sneak-a-Cup® Interrupt Feature lets you pour a cup of coffee before brewing is done. There is an automatic drip stop that lets you remove the carafe to “sneak-a cup” without leaking from the Filter Basket (A).
NOTE: The carafe must be replaced under the Filter Basket within one minute to prevent the Basket from overflowing.
SETTING THE CLOCK/TIMER & AUTO BREWING
(Clock Models Only)
When the power is first turned on, the clock will flash 12:00 a.m. until the correct time is set. The Coffeemaker will work without setting the clock.
- To set the current time of day: press the HOUR button until you reach the correct hour. Watch for the little dot in the top left corner of the display that indicates “p.m.” time. Press the MIN button to set the correct minutes. Once set, the clock will continue to keep time unless the Coffeemaker is unplugged or there is a power failure.
- To set the auto on time: press and hold the PROG button with one finger while you press the HOUR, then MIN buttons to set the time you’d like coffee to automatically begin brewing (B). Be sure to watch for the “p.m.” indicator dot in the digital display. When you let go of the PROG button, your auto time will be set.
- Prepare the Coffeemaker for brewing as instructed in BREWING COFFEE (follow steps 1- 3).
- Press the AUTO button. A dot will illuminate in the bottom right corner (above AUTO) indicating your timer is activated. To check your pre-set auto time, press PROG and it will display. When you release the PROG button, the clock will return to the current time of day. To automatically brew coffee again at the same pre-set auto-on time, prepare your Coffeemaker for brewing again and press the AUTO button. The dot will come on in the bottom right corner.
Note: The auto-on function can be canceled at any time by pressing the OFF button. The AUTO indicator dot will go away.
SAVE THESE INSTRUCTIONS
POLARIZED PLUG (120V Models Only)
This appliance has a polarized plug—one blade is wider than the other. As a safety feature, this plug will fit into a polarized outlet only one way. If the plug does not fit fully into the outlet, reverse it and try again. If it still does not fit, contact an electrician. Do not attempt to defeat this safety feature.
TAMPER-RESISTANT SCREW
This appliance is equipped with a tamper-resistant screw to prevent removal of the bottom cover. To reduce the risk of fire or electric shock, do not attempt to remove the bottom cover. There are no user serviceable parts inside. Repair should be done only by authorized service personnel.
FAQS
- How do I clean my coffee maker?
- To clean the Black & Decker Versa Brew DCM1300 or any coffee maker, it’s important to refer to the user manual for specific instructions. Typically, you can clean the carafe, filter basket, and any removable parts with warm, soapy water. Some parts may also be dishwasher safe. The coffee maker itself can be cleaned by running a brew cycle with a mixture of water and vinegar to remove mineral deposits. Be sure to rinse it thoroughly afterward.
- How much coffee should I use per cup?
- The recommended coffee-to-water ratio is usually 1 to 2 tablespoons of coffee grounds per 6 ounces of water. However, you can adjust the strength of the coffee according to your preference.
- How long does it take to brew a pot of coffee?
- Brewing time can vary depending on the coffee maker and the amount of coffee being brewed. Typically, it takes around 5 to 10 minutes for a full pot of coffee to brew.
- Can I use ground coffee or do I need to use coffee pods?
- The Black & Decker Versa Brew DCM1300 is compatible with ground coffee. It may not be designed for coffee pods, so it’s best to refer to the user manual to confirm the compatibility.
- Can I program the coffee maker to start brewing at a specific time?
- Some coffee makers have programmable features that allow you to set a specific time for brewing. However, you would need to check the product specifications or user manual to see if the Black & Decker Versa Brew DCM1300 has this feature.