JVC AV SELECTOR JX-66 User Manual
Thank you for purchasing this JVC product. Before you begin operating this unit, please read the instructions carefully to be sure you get the best possible performance. If you have any questions, consult your JVC dealer.
Safety Information
CAUTION
To reduce the risk of electrical shocks, fire, etc.:
- Do not remove screws, covers or cabinet.
- Do not expose this appliance to rain or moisture.
*It may be unlawful to record or play back copyrighted material without the consent of the copyright owner.
IMPORTANT
- Installation of the System
- Select a place which is level, dry and neither too hot nor too cold (between -5°C and 40°C/ 23°F and 104°F).
- Keep away from direct sunlight.
- Do not put it too close to a heater.
- Malfunctions, etc.
- There are no user serviceable part inside. If anything goes wrong, consult your dealer.
- Do not insert any metallic object.
- Do not allow water to get inside.
Features
- AV selector for the exclusive use with audio-visual terminals of a high-resolution component.
- Gold-plating for all input and output terminals.
- Flexible design concept that enables either vertical or horizontal installation.
Specifications
- Input terminals: 3 lines (Component Video, Audio L/R) x3 • Output terminals: 1 line (Component Video, Audio L/R) x1
- Video frequency response: 30 MHz • Audio frequency response: 0 Hz – 100 kHz
- Dimensions (W x H x D) Horizontal: 7-31/64″ x 1-13/16″ x 5-31/64″ (190 mm x 46 mm x 139 mm)
Vertical (with stand): 3-13/64″ x 8-5/64″ x 7-7/8″ (81 mm x 205 mm x 200 mm) - Mass: Without stand — 12.4 oz. (350 g); With stand — 15.5 oz. (440 g)
Accessory
- Stand for vertical installation
Design and specifications are subject to change without notice.
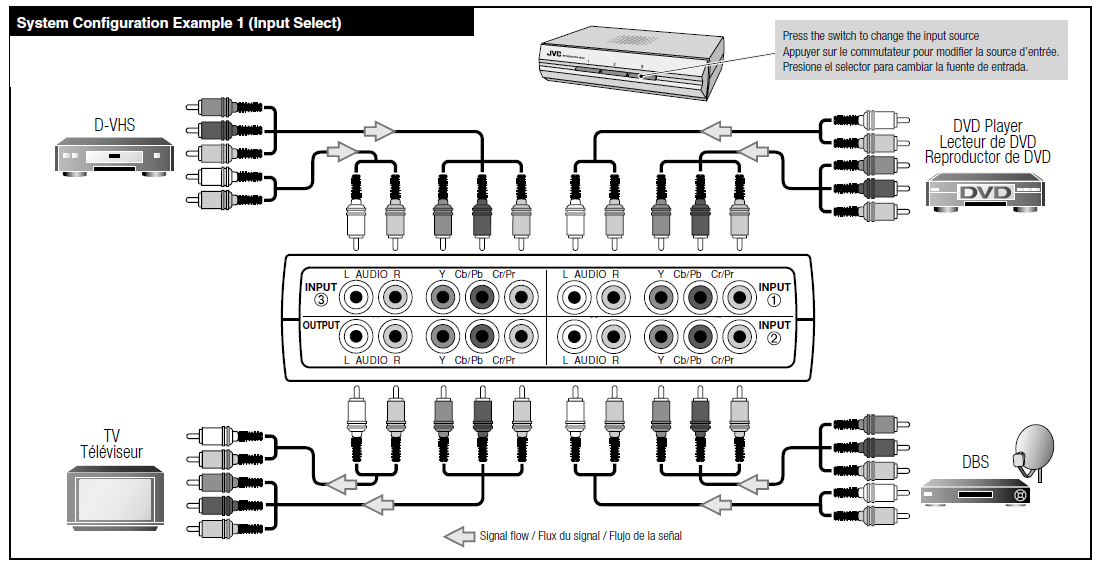
System Configuration Example 1
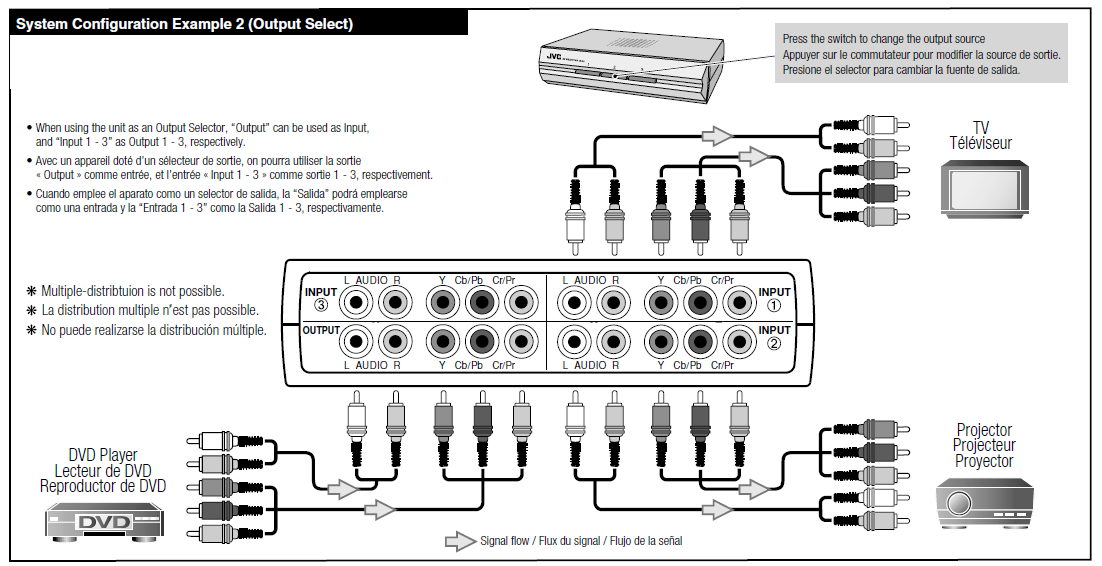
System Configuration Example 2
Vertical Installation
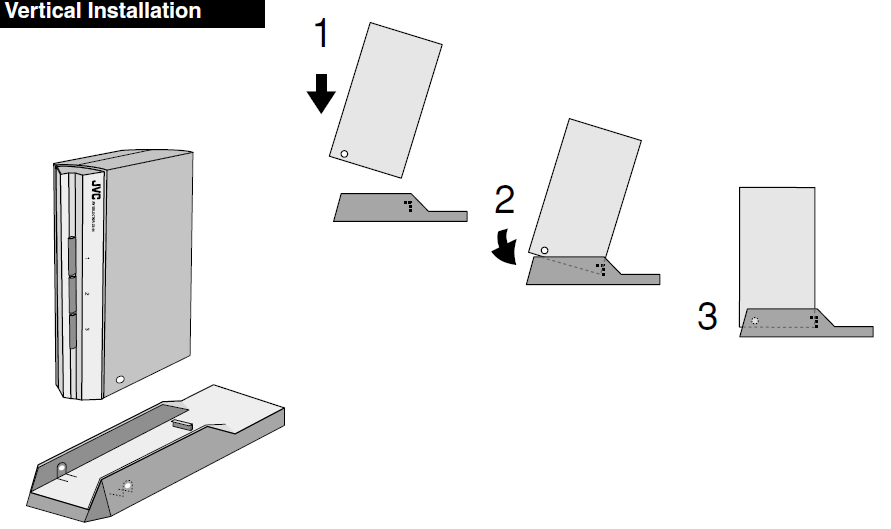
- How to fit the unit into supplied stand: Place the unit against a plastic nail on the stand, and then press down the unit until it clicks.
Notes:
- Use cables with plug that are less than 35/64″(14mm) in external diameter.
- In vertical installation, make sure that cables are organized and situate the unit properly to avoid it from falling.
ABOUT
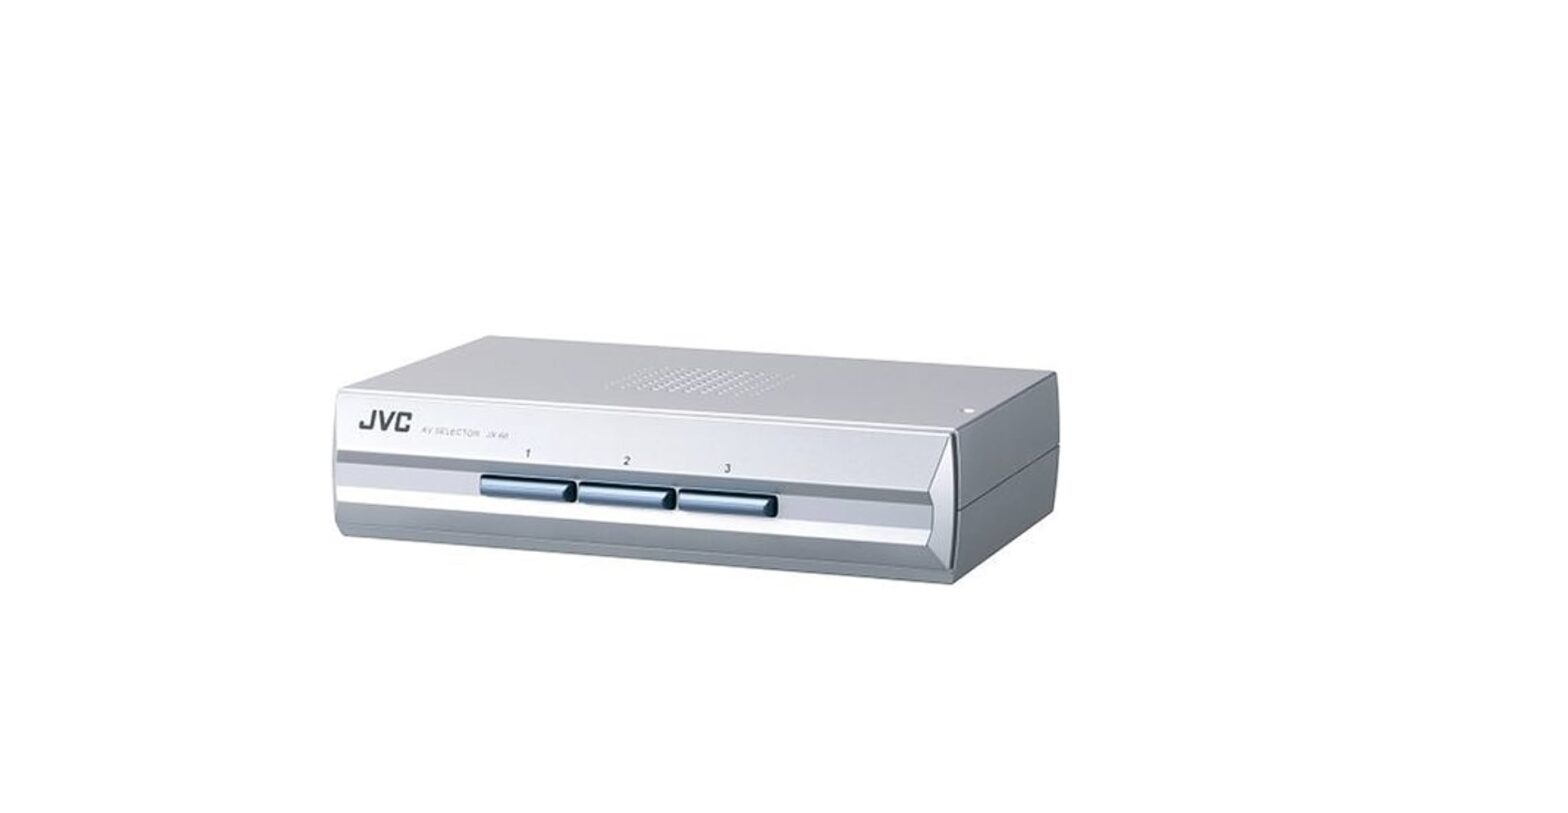
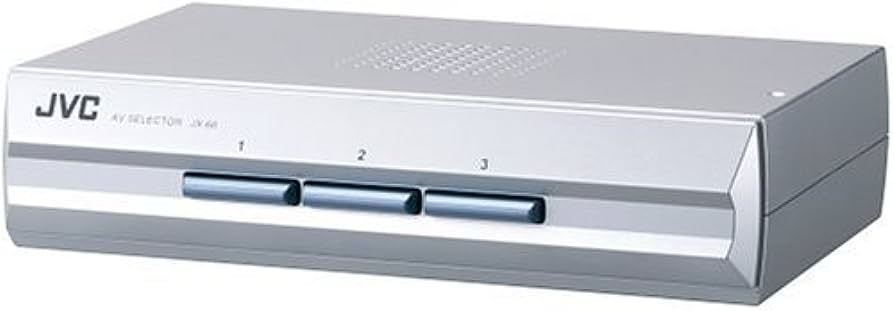
The main purpose of the JVC AV Selector JX-66 is to simplify the process of connecting and switching between different audio/video devices, such as DVD players, gaming consoles, VCRs, and other multimedia equipment. Instead of having to manually swap cables every time you want to use a different device, you can connect them all to the AV Selector, and with the press of a button or the turn of a dial, you can choose which source to display on your TV or monitor.
Key features of the JVC AV Selector JX-66 may include:
- Multiple Inputs: The device typically has multiple input ports, allowing you to connect several audio/video sources simultaneously. These inputs are often in the form of RCA, HDMI, or component connections.
- Output: The AV Selector has a single output that connects to your TV or monitor. This output is also in the form of RCA, HDMI, or other compatible connectors.
- Switching Mechanism: The device comes with a switching mechanism, usually in the form of buttons, a dial, or a remote control, to select the desired input source.
- Compatibility: The AV Selector should support standard audio and video signals, ensuring compatibility with a wide range of devices.
- Convenience: It provides a more convenient way to manage multiple devices, reducing cable clutter and making the process of switching between sources more seamless.
FAQS
- What is an AV selector?
An AV selector, also known as an audio/video selector or input switcher, is a device that allows you to connect multiple audio and video sources (e.g., DVD players, gaming consoles, set-top boxes) to a single TV or audio system. It enables you to switch between different input sources easily. - How do I connect devices to the AV selector?
Typically, you connect the AV output from your devices (e.g., HDMI, RCA, component) to the input ports on the AV selector. Then, you connect the AV selector’s output to your TV or audio system. - Why is my AV selector not switching inputs properly?
There could be several reasons for this issue, such as loose connections, incompatible devices, or a faulty AV selector. Make sure all cables are securely plugged in, check if your devices are supported by the AV selector, and consider trying a different input port on the selector. - How do I switch inputs on the AV selector?
Usually, AV selectors have a physical button or a remote control to switch between inputs. Check the user manual for specific instructions on how to change inputs for your JVC AV Selector JX-66. - Can I use an AV selector with a 4K TV?
If your AV selector supports 4K resolution and has compatible input and output ports (such as HDMI 2.0), then yes, you can use it with a 4K TV. Keep in mind that older AV selectors might not support 4K, and in such cases, the resolution may be limited. - Why is there no audio/video signal when using the AV selector?
Ensure that all cables are securely connected, and the correct input source is selected on the AV selector. Verify that your connected devices are functioning correctly and that their settings are appropriate for the AV selector.